Thursday, May 30, 2013

Deep Breath

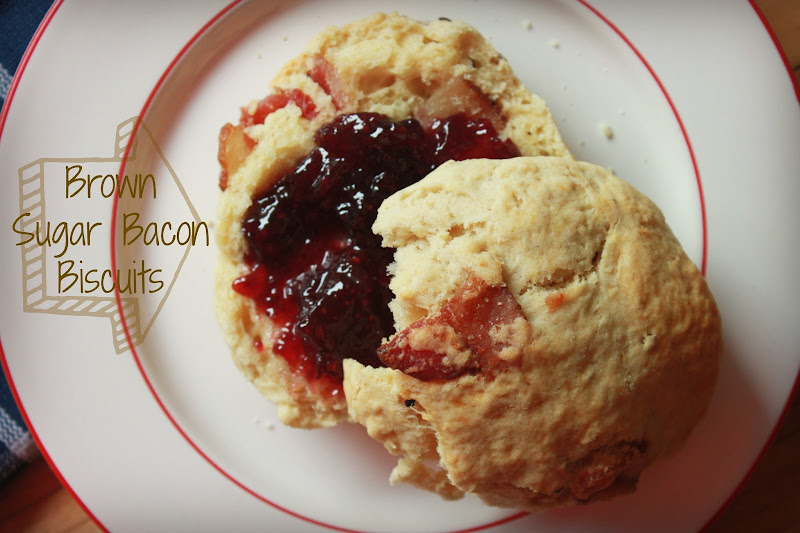
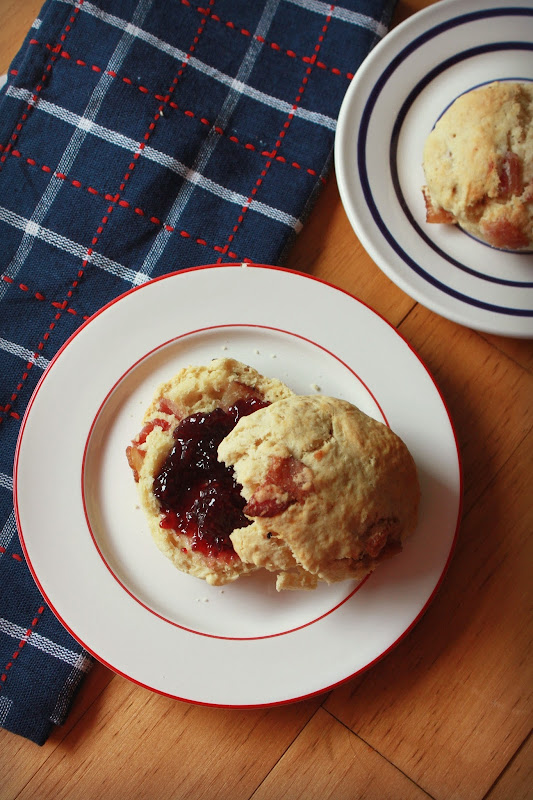
GUYS.  I'm about to get real on this blog.  Omg, I'm so terrified to talk about something that's so personal to me.  I try to keep this blog light and fun because I'm mostly talking about cookies.  But it seems like an opportunity for me to connect with people and to hold myself accountable.    So here goes:

I want to lose 25 pounds.  

God, that was painful.  Here's the way my brain works:  I generally don't like admitting that I'd like to lose weight because it feels like admitting that I NEED to lose weight.  It feels admitting that I've failed myself.  And that's a thought that's been on my mind since the age of 14.  No matter what my weight has ever been, I've always felt "fat."  That's a pretty sad sentence huh?  

Ugh, feelings!    

And I want to be clear, I don't equate "fat" (whatever that really means) with a number that means ugly or wrong or unacceptable.  There are plenty of people of all shapes and sizes and they look spectacular and they OWN who they are.  I've mostly never felt like one of those people.  To me "fat" is a feeling.  It FEELS uncomfortable.  It FEELS like shyness.  It FEELS like low self esteem.  It's a reminder that I've set goals for myself and haven't reached them.  

So I suppose this isn't so much about the actual number on the scale but it's about setting a goal for myself and seeing it through.  And that terrifies the heck outta me!  What if I fail?  Why do I think I'll fail?  

More feelings!

And I understand that losing 25lbs won't just magically address any issues I might have with body image or self esteem.  That's another process that needs its own attention.  But I do think that setting a realistic and achievable goal for myself is the first step.  

And the second step is the part where I make a public pledge.  This blog will be my weekly check in.  Every week, good or bad, I'll report my progress.  I'm officially dubbing this campaign "25 by 29."  It means 25 pounds by my 29th birthday, which is approximately 6 months away.  That gives me about a pound a week to hit my goal.  It's the Summer of Annie!  

So I could use all the love, encouragement, and good vibes you've got.  Yay for feelings! 

Monday, May 27, 2013

Brown Sugar Bacon Biscuits


Let me describe my ideal Saturday morning.  I awake unprompted at approximately 8am.  I get out of bed and splash cold water on my face and add a swipe of mascara and chapstick.  It's 72 degrees out with a slight overcast.  I meet my sister for our regular lattes and we peruse the Farmer's Market.  We return to my apartment for an America's Test Kitchen marathon while fresh Brown Sugar Bacon Biscuits are just browning in the oven.  I smother them with jam and we feast.  


Now let me describe an actual Saturday morning.  I wake unprompted at 6:35am.  Why can't I do this on a weekday?  I force myself back to bed and wake again around 8am.   I press snooze approximately 6 times.  I finally decide to roll out of bed and stumble into the bathroom.  I look as though I've spent the last 8 hours lying directly on my face.  Which I likely have.  I attempt to put on mascara.  My right eye keeps watering for no apparent reason.  Why is that happening?  I fiddle with my hair so I can attempt to look at least 60% appropriate for public viewing.  I give up and hope I see no one I know on the streets.  Outside, it's raining in that weird way where it's not really raining but just misting on everything.  I meet my sister for our morning lattes and Farmer's Market perusal.  Back at home, I queue up America's Test Kitchen, pull fresh Brown Sugar Bacon Biscuits out of the oven, smother them in jam and we feast.


Brown Sugar Bacon Biscuits save the day!  They always save the day.  Having not really grown up in a biscuit family, this was my first attempt at homemade biscuits and it could not have been easier.  Knowing I wanted fresh biscuits first thing in the morning, I actually prepared the dough and cut the biscuits the night before.  I covered them tight, stored in the fridge, and baked them fresh the next day.


These were impossibly moist, tangy, buttery and ever so slightly sweet.  The bacon adds a wonderful smokey salty burst that pairs so perfectly with a smear of jam or butter.  Or both.  And the good (or bad?) news is, these were so easy to make, I could have fresh biscuits in my hands any time I want.  Pretty sure that's good news.  

Here's the recipe!  

Brown Sugar Bacon Biscuits 
yields about 8 biscuits

Ingredients

Bacon:
6 slices of bacon
1 tablespoon brown sugar
coarse ground black pepper

Biscuits:
3 cups all purpose flour
2 tablespoons brown sugar
2 tablespoons granulated sugar
3 teaspoons baking powder
1 teaspoon baking soda
3/4 teaspoon salt
1/2 teaspoon black pepper
3/4 cup cold unsalted butter, cut into cubes
1 large egg
3/4 cup buttermilk

Directions:
1.  Preheat oven to 375 degrees.  Line a baking sheet with foil and spread bacon across the pan.  Sprinkle brown sugar and pepper over the bacon and gently press into the bacon to make it stick.  Bake until crisp and cooked, about 13-15 mins.  Remove from baking pan using tongs and allow to cool on cutting board (not paper towel!).  Once cool, chop into medium pieces and set aside.   

2.  Increase oven temperature to 425 degrees and line another baking pan with foil, set aside.  In a medium bowl, whisk together flours, sugars, baking powder, baking soda, salt, and pepper.  

3.  Add cold butter and using your hands, quickly break the butter into the dry mixture until it resembles coarse meal.  In another bowl, combine egg and buttermilk and whisk to combine.  All at once, pour into the flour/butter mixture and stir to incorporate.  Add bacon and stir.  If necessary, you can turn the dough onto a floured surface and knead a few times to bring it together (I did this).  

4.  Roll or pat dough into a 1-inch thickness.  Cut into circles using a biscuit cutter (I used a large-mouthed floured mason jar).  Reshpae dough and continue cutting until you're out of dough.  Place on the foil-lined baking sheet, about 2 inches apart.  Bake 12-15 minutes until golden brown.  Serve warm with jam.  Best if eaten same day. **

**Note: As stated, I prepared and cut the dough at night, placed it on the baking sheet, and wrapped tightly with clear wrap and stored in the fridge.  The next morning, I allowed the biscuits to come to room temperature for about 20 minutes and then baked as normal.  

Recipe from Joy The Baker

Thursday, May 16, 2013

Fresh Strawberry Pie with No-Roll Shortbread Crust


Spring!!  I think I can confidently say that it's Spring in Chicago.  We still have a few weirdo days now and then that are 50 degrees and rainy but we're beginning to have steady, sunny, 70 degree weather.  Huzzah!  (Side note: I'm not ready to bare my arms in public!  I haven't achieved my tank top arms!!  I blame genetics and pizza and Goldfish crackers).


This pie is basically the food equivalent of spring.  Much the same way that watermelon is the food equivalent of summer.  You catch my drift?  It tastes like spring.  It's bright and sweet and light and I could eat the whole thing.  I didn't but I could.  Do you dare me?  Ok, I will.


And don't you dare judge me for using Jello.  First things first, we're all friends here, right?  Right.  So let's not impose silly rules on what makes food fancy or delicious.  And let's not pretend an ingredient like Lemon Jello doesn't totally brighten up an already fabulous Strawberry Pie.  Because it does!  


Let's talk about crust.  When I set out to make this pie, I wanted to make something easy from start to finish.  My first inclination was to use a no-roll pie crust.  I'd never attempted one before and I went through a bit of trial and error.  While it's not the recipe I used, I've been eager to try Joy the Baker's recipe for a no-roll crust too.  Ultimately, I think the crust tastes great and held up well to the filling but it certainly felt shortbread-y, not pie crust-y.  The great thing about a recipe like this is that it's customizable.  So if you prefer a classic crust, just swap it in.  Blueberries instead of strawberries?  Sure!  Pizza?  Why not!  Goldfish Crackers?  Heck yeah!  Tank Top Arms?  No probably not.  

Here's the recipe!  

Fresh Strawberry Pie with Shortbread Crust

Ingredients:
4 cups strawberries, quartered
1 cup granulated sugar
2 tablespoons cornstarch
1 cup water
3 tablespoons lemon flavored Jello mix

Crust:
1 1/2 cups flour
2 tablespoons cold butter (1/2 stick), cubed
4 tablespoons vegetable shortening
1 tablespoon sugar
1 teaspoon white vinegar
2 tablespoons cold water, if necessary

Directions:
1.  Preheat oven to 450 degrees and spray a 9 inch pie pan with non stick spray and set aside. 
2.  Prepare the dough.  In a food processor, pulse flour, butter, shortening and sugar until the mixture resembles course corn meal.  Add vinegar and 1 teaspoon of water and pulse to combine.  If the dough holds together when you pinch it, it's ready.  If it needs more moisture, add 1 teaspoon at a time until it just holds together.  
3.  Sprinkle dough into the bottom of a pie plate and begin working it evenly to the bottom of the pan and up the sides.  I use my fingers and knuckles to work the dough but a flat bottom-ed cup works well too.  You're looks for even consistency and full coverage of the plan.  When ready, prick the bottom of the crust with a fork a few times.  Bake for 8-10 minutes until golden brown.  Allow to cool completely before filling.  
4.  Prepare the filling:  In a medium saucepan, whisk together sugar and cornstarch.  Pour in water and bring to a full boil.  As soon as the mixture begins boiling, turn off the heat and add the Jello.  Stir until dissolved and allow to cool.  
5.  Once cool, gently fold in strawberries and pour into crust.  Arrange the top layer of strawberries to look pretty. Refrigerate at least 2 hours or overnight (covered) before serving.  

Enjoy!

Pie adapted from All Recipes and crust from Savory Sweet Life

Sunday, May 12, 2013

Vanilla Creme-filled Vanilla Muffins

Take it from me when I say that 6 days in Vegas might be about 3 days too many.  I went with my boyfriend, my sister and her boyfriend and while we all had fun, we were deeeeefinitely ready to leave by day 3.  I think maybe I'm an old lady who just likes peace and quiet most of the time?  And I forgot that Vegas's slogan is not "Ssshh, a place for peace and quiet."


 Anyway, a vacation is a vacation and sometimes, it's tough to get back in the groove.  Baking is usually my escape and a chance for me to get lost in my thoughts but after coming back from vacation, I'd prefer to get lost in my thoughts while staring at a television.  So this recipe was something I whipped up shortly before leaving for Vegas.


I am reluctantly calling this a muffin on the basis that the original recipe refers to it as a muffin.  It's really just a cupcake in disguise because the frosting is just "filling" now.  NBD, I'll eat frosting any time of day so I ain't complaining.  But if you're looking for a nutritious breakfast, this will not meet your needs. 

However, if you're looking for a "muffin" that maybe sorta resembles a Twinkie?  Well, I've got you covered.  The base for this muffin is a mild vanilla and it's really delightful.  It's not quite as delicate as a cake so I imagine it would hold up well to all sorts of fillings.  A fruit compote perhaps?  And the "filling" is a quick and easy buttercream. 


These will be a breeze to whip up if you're not like me and you don't forget to check how much powdered sugar you have before you start creaming the butter and then realize you don't have enough powdered sugar and then try to make your own in the food processer and then give up about half way between granulated sugar and powdered sugar and then have a slightly grainy buttercream.  So don't be like me.  

So have at it people.  I'm gonna stare at the TV a liittlllle while longer.  

Here's the recipe!

Vanilla Creme-filled Vanilla Muffins
makes 12-14 muffins

Ingredients
1 cup sugar
1 egg
2 cups all-purpose flour
2 tsp baking powder
1/2 tsp salt
1 cup whole milk
1/4 cup butter, melted and cooled slightly
1 tablespoon vanilla extract

Creme
1/2 cup vegetable shortening
1/2 cup unsalted butter, room temperature
2 1/2 cups powdered sugar
1-2 tablespoons milk, if needed
1 tsp vanilla extract

Directions
1.  Preheat oven to 375 degrees and line a muffin tin(s).  Set aside. 
2.  In a stand mixer, mix sugar and egg until combined.  Add flour, baking powder, and salt.  Mix to combine.  Mixture will look like coarse sand. 
3.  With the mixer on low, add milk, vanilla, and butter, mixing until incorporated.  Fill muffins liners about 2/3 full and bake about 18-20 mins until the top springs bake when touched and a toothpick inserted in the center comes out clean.  Allow to cool completely before filling. 
4.  For the filling:  Beat butter and shortening in the bowl of a stand mixer until fully incorporated and smooth.  With the mixer on low, slowly add the powdered sugar and then mix until smooth.  If needed, add milk to help lighten and smooth the creme.  Add vanilla and mix to combine.  Put creme in a piping bag fitted with a star attachment. 
5.  To fill:  Plunge the tip of the pastry bag into the center of the muffin and begin squeezing and slowly pulling the tip out until the muffin feels full and begins to bulge a little.  Fill all muffins and serve! 

Enjoy!

Recipe from Cookies and Cups